
.webp?width=1921&height=622&name=usecase-banner%20(1).webp)
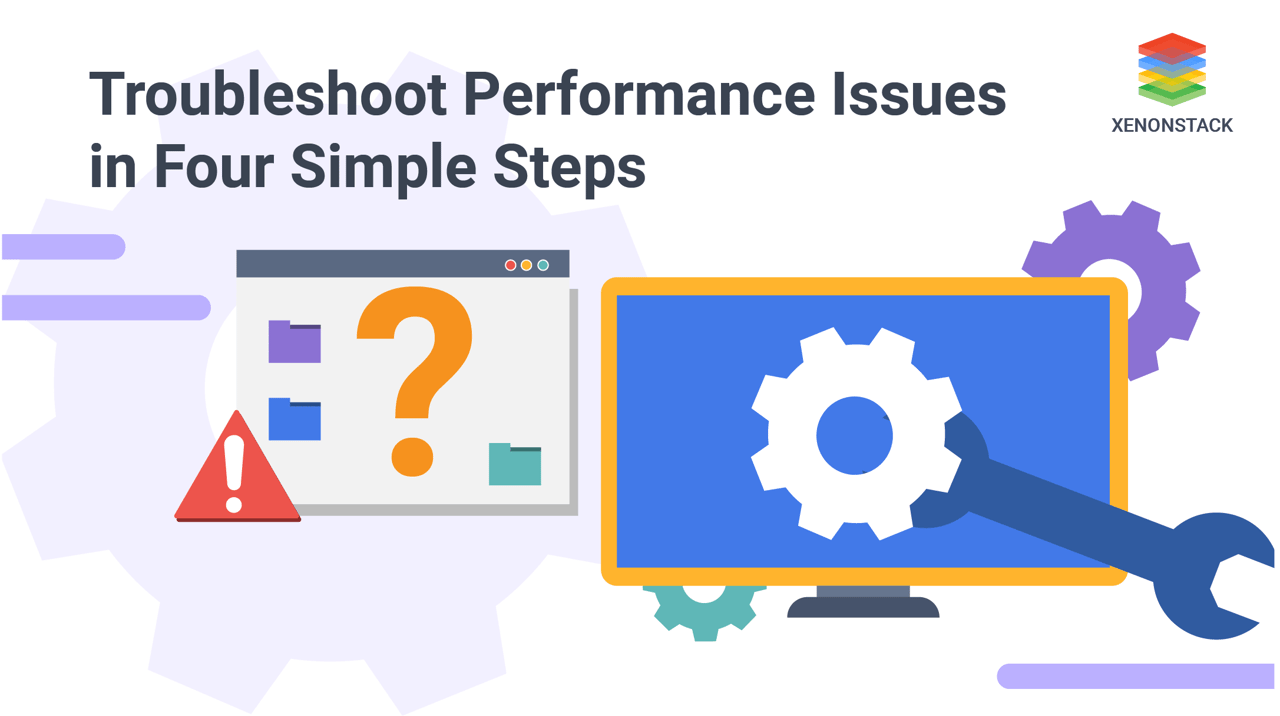
Understanding Troubleshooting Performance Issues and Resource Congestion
Even the most advanced and feature-packed application might not survive significant performance problems. Users typically experience reduced response time. This is mostly caused by resource congestion. While the explanation is simple, it is often very tricky to find out what is getting congested. An application might have millions of lines of code, trying to find the exact sequence of the system causing the resource congestion is hard.
Find the Best Solution for Digitally Transforming your Enterprise. Talk to an End-End Testing Expert
In this blog, we will walk through troubleshooting performance issues in a Demo Application and demonstrate how to identify the exact line of code causing resource congestion using Performance Tracing and Observability techniques.
Step 1: Identify Processes that are Consuming High CPU
The first step in troubleshooting performance issues is to identify the processes that are causing CPU spikes. One of the simplest ways to do this is by using the 'top' command. Run the following command from the console: $ top. This command will display all the current processes running in the system, sorted by CPU consumption, from highest to lowest. This helps in Performance Tuning by quickly identifying resource-intensive processes.
Using Performance Tracing for Deeper Insights
After running the command, the console will show an output similar to the one below. Suppose process 31294 is consuming about 199.1% of CPU, which is highly unusual. This suggests that process 31294 is creating performance bottlenecks. To gain deeper insights, tools like Tracing with Jaeger can help track request flows and identify inefficiencies.
Now, the next step is to identify which threads within the process are causing the CPU spike.
Step 2: Identifying Threads Within the Process that are Consuming High CPU
The step two of Troubleshooting Performance Issues is to check the CPU consumption of the threads within the process, run the command' top -Hpp {pid}' $ head -Hpp 312943 This command will show all the threads within the thread and their CPU usage. After running the power, it will show you the output similar to the products given below.
From the output, it is clear that which threads are causing the spike in CPU 1. 69.3% of CPU is being utilized by Thread Id 31306. 2. 65.6% of CPU is being used by Thread Id 31307. 3. 64.0% of CPU is being used by Thread Id 31308. 4. All the other threads are using the negligible amount of CPU. Now, as we have precisely identified the threads which are causing the problem, the next step is to capture thread dump so that we can identify the exact lines of code that are responsible for the CPU spike.
Step 3: Capturing Thread Dumps to Pinpoint Performance Bottlenecks
The Step three of Troubleshooting Performance Issues is - A thread Junkyard is a snapshot of the state of all threads that are part of the process. A thread dump reveals all the information about the thread activity and can help in diagnosing problems and optimize the application. There are so many options to capture thread dumps. We will be captured using the tool 'stack' which is packaged in JDK.
The command for capturing thread dump is "jstack -l {pid} > {file-path}" jstack-l 31294 > opt/tmp/threadDump.txt A thread dump has three parts: 1) Timestamp at which thread was triggered. 2) Information about Java Virtual Machine 3) Thread Details (discussed below) Again in thread details, It has information of thread:
-
Thread NameThe first part of the thread information in 'Thread Name'. In the above example, The name of the thread is "Invoice Thread-A996". This name is assigned by the developer.
- Priority
The next part is Priority of the thread. It may has values from 1 to 10. Always the thread with higher priority value gets the chance to be executed in case of a clash.
- Thread Id
The next part is the Thread Id of the thread. This Id is assigned by the JVM to the thread. This Id is always unique, whereas different threads can share the same Thread Name.
- Native Id
The next part is the native Id. This Id is assigned by the Operating System to the thread. This Id is used while performing tasks which involve Operating System (Like operation 'top').
- Address Space
The next part is the address space. This gives the address where the thread is currently running in the memory.
- Thread State
The next part is the Thread State. Usually, a thread has six different states.
-
Stack TraceThe last part is called the Stack trace. The stack trace shows the code's execution path. It shows the information about where the thread started and its movement across the system.
The dump captured will be captured into the file threadDump.txt. Now the next step is to identify the lines of code, causing CPU spike.
Step 4: Locating the Exact Lines of Code Causing CPU Spikes
In the Fourth step of Troubleshooting Performance Issues after capturing the thread dump, now we upload the thread dump to fastThread tool. FastThread tool generates visual data report. The report has multiple sections. On the top right part, there is a search box. Enter the Thread ids of threads which are consuming high CPU. FastThread tool will display all three stack trace, as shown in the image. Now, as know what is causing the problem, you can make necessary changes required to make the application run smoothly again.
Example of a Faulty Application Source Code 1: package com.buggyapp.cpuspike;2: 3: /** 4: * 5: * @author Test User 6: */ 7: public class Object1 { 8: 9: public static void execute() { 10: 11: while (true) { 12: 13: doSomething(); 14: } 15: } 16: 17: public static void doSomething() { 18: 19: } 20: } As you can see in the above program, 'doSomething' method is invoked an infinite number of times. This is because of non terminating while loop. If a thread goes inside the circle, it executes it for unlimited times. This causes CPU to spike up. This is what can happen in an incorrect source code. If the non-terminating loop is fixed, the problem with CPU spike will also be adjusted.
Ensuring Optimal Performance with Proven Troubleshooting Methods
By following these four steps, you can efficiently troubleshoot performance issues and resolve system bottlenecks with precision. Implementing Performance Tracing, Observability, and Performance Tuning ensures that your applications run smoothly, avoiding unnecessary slowdowns caused by resource congestion.
By leveraging these steps, you can maintain peak system efficiency and deliver seamless user experiences without disruption.
Next Steps in Preventing Future Performance Issues
Talk to our experts about implementing a compound AI system. Learn how industries and different departments use Agentic Workflows and Decision Intelligence to become decision-centric. Leverage AI to troubleshoot performance issues in IT support and operations, improving efficiency and responsiveness.


